Squash is an easy crop to grow in your veggie garden, but with the right spacing and care, it’s even easier to grow in raised beds.
Here’s why:
- Raised beds, overall, have better drainage, which helps prevent rot and disease.
- The soil warms up faster, which translates to faster seed germination and growth.
- You have more control over the soil quality and contents.
- There’s less bending (especially if you have a tall raised bed), which means easier harvesting.
Of course, there are also challenges.
- Squash needs quite a bit of space to sprawl.
- You may need to water more often (raised beds dry out faster).
- Depending on the variety, you may need support structures.
The good news? It’s easy to overcome these challenges if you give your plants plenty of space, set a consistent watering schedule and plan your garden out properly.
It also helps to choose the right variety of squash for your beds (some are better than others).
I personally always grow summer squash in my raised beds. They’re easy. I always get a great harvest. Sure, powdery mildew can be a problem some seasons, but normally, not until the end of the season anyway.
I highly recommend planting squash in raised beds, even if you’re just getting started with gardening. But before I dive into how to care for these plants, let’s look at some of the best varieties to plant.
Which Varieties of Squash Work Best for Raised Beds?
There are so many varieties of squash, but some are better than others for raised beds. You can grow any variety you want if you have enough space and the right setup.
There are two main types:
- Bush/compact: These grow more upright and have a smaller footprint
- Vining: These sprawl out and love to climb
Personally, I’ve had the best luck with Pantheon, which is very similar to Costata Romanesco.

They’re delicious, delicate in flavor and grow in an upright bush habit.
I bought my seeds from Johnny’s Seeds, but you may be able to find a similar variety locally.
Of course, this isn’t the only variety you can grow in your raised bed.
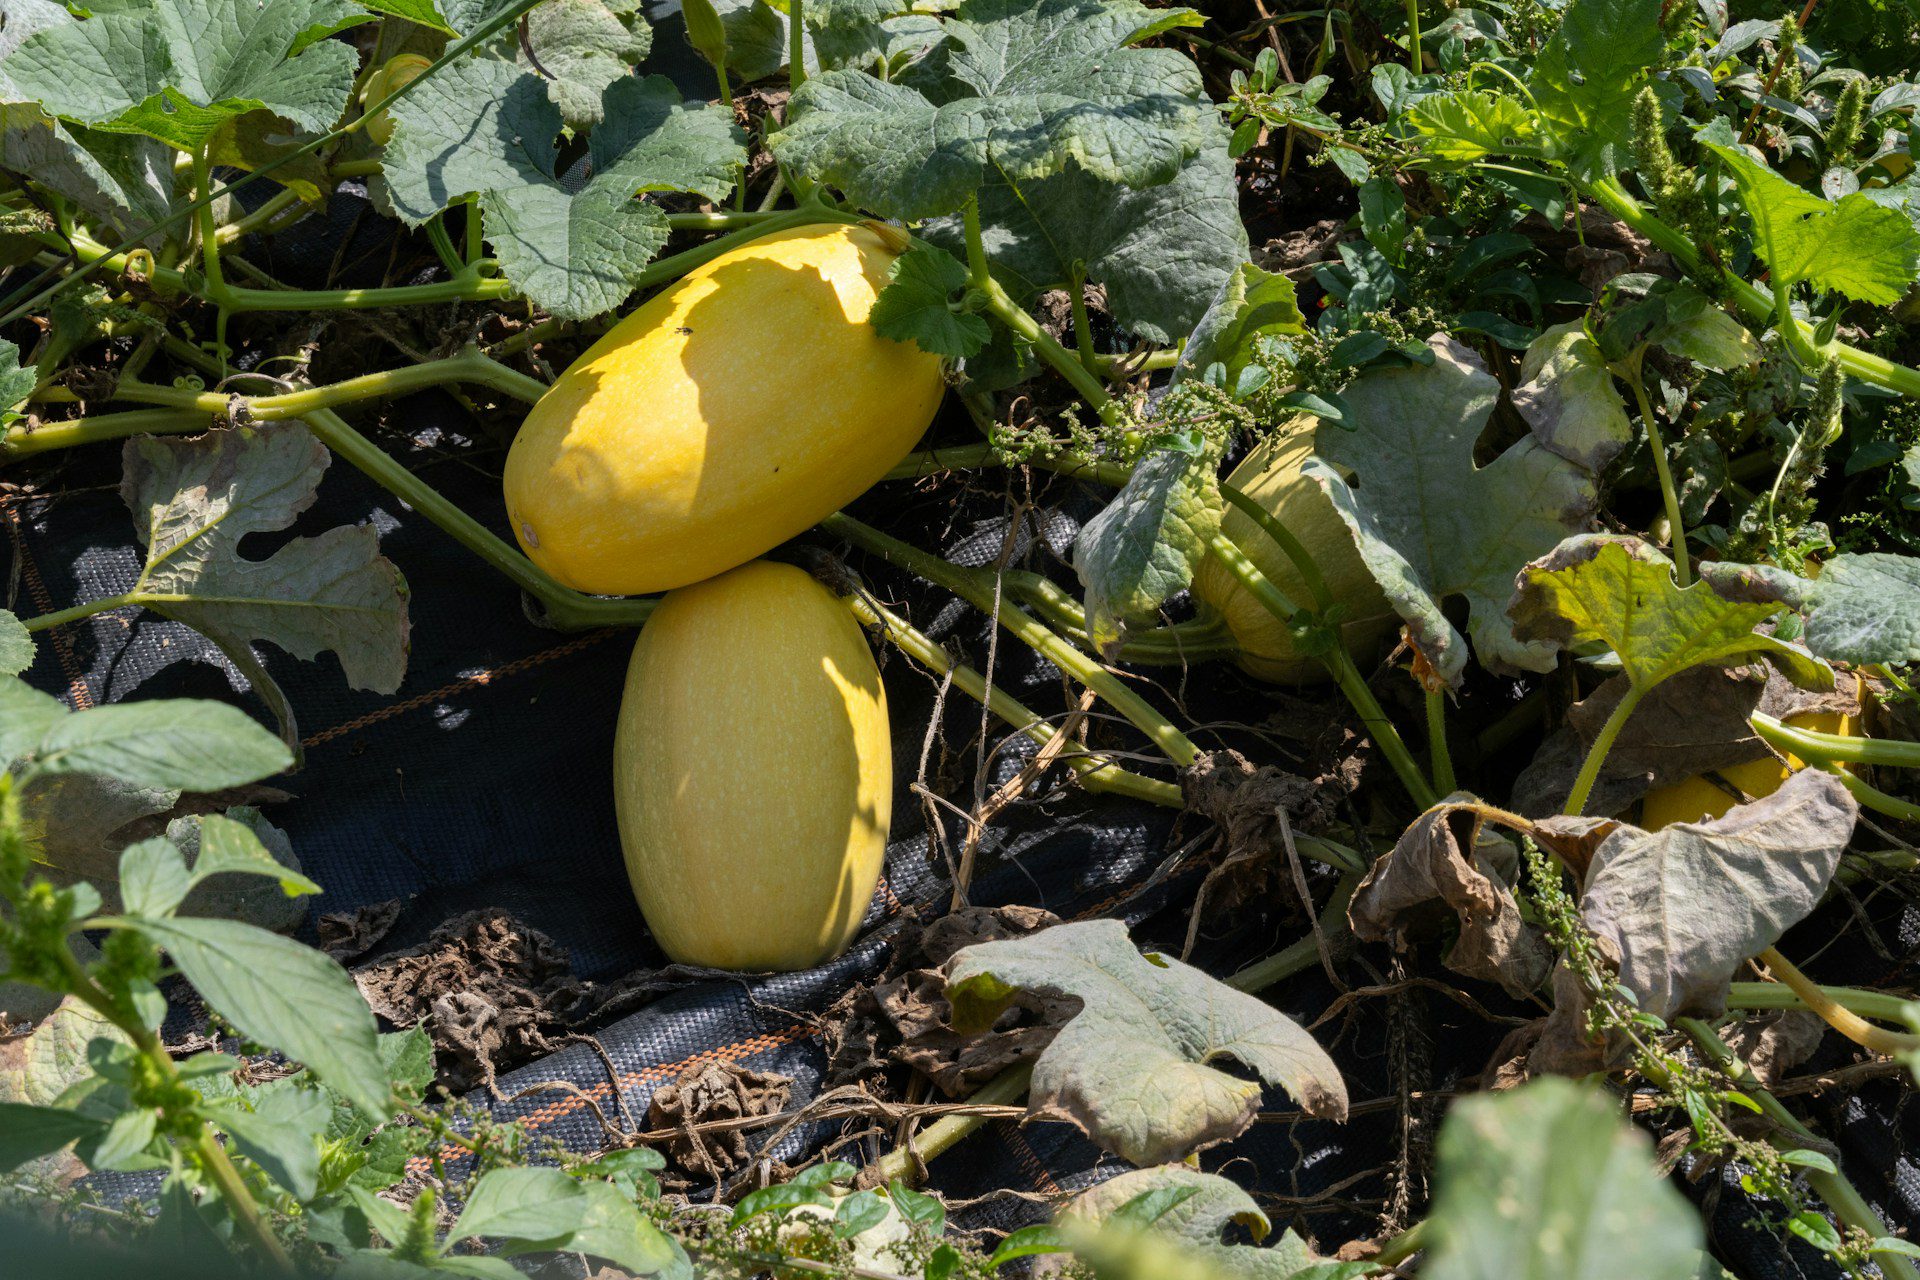
I’ve also had luck with yellow squash.
Here are some other varieties to consider.
Compact/Bush Varieties
- Bush Baby (zucchini)
- Raven (compact zucchini)
- Eight Ball (round zucchini)
- Goldilocks butternut (compact vining)
- Bush Delicata (delicata bush, semi-vining)
- Table Kong (acorn)
- Honeybear (acorn)
- Black Beauty (compact, productive)
- Burpee’s Butterstick (yellow squash)
- Sunburst (pattypan)
- Sweet REBA (acorn
- Table Gold (acorn)
- Burpee’s Butterbush (butternut)
Disease-Resistant Varieties
- Dunja (zucchini, resistant to powdery mildew)
- Success PM (yellow squash, resistant to powdery mildew)
- Emerald Delight (zucchini, multiple resistances)
While you can certainly grow winter squash in your raised beds, summer squash varieties tend to be the most successful. Winter squash needs a lot of space. I haven’t had any luck growing any variety I’ve tried.
But I’d love to hear stories from those of you who have had success!
Planning Your Raised Bed for Squash
Choosing a variety to grow is just one piece of the puzzle. You also need to take the time to plan out your raised beds to ensure your squash grows well.
Let’s start with the most important consideration: spacing.
Bed Size
Before you start planning, make sure that you have large enough beds to accommodate your plants.
- Summer squash (bush varieties) needs 4×4 feet for two plants
- Summer squash (vining varieties) needs 4×8 for 2 plants + training
- Winter squash needs 4×12 feet of space
- Depth should be at least 12-18” – deeper is even better for root development
The University of Minnesota recommends planting zucchini 2-3 feet apart, so I follow this general guideline in my raised garden.
Spacing
Most squash varieties need quite a bit of space. It can be tricky to figure out how far apart to plant squash in raised beds, but here’s a general guide:
- Bush summer squash: 24-36 inches apart
- Vining summer squash: 36-48 inches apart
- Winter squash: 48-60 inches apart (or allow vines to trail out)
In my experience, bush summer squash varieties really do need around 36” of space. Whenever I’ve planted them too close together, I’ve struggled with powdery mildew and smaller yields.
If you haven’t done so already, I highly recommend that you create a drawn or printed plan of your garden. This way, you can see exactly how much space you have and calculate how many plants you can grow without overcrowding your bed.
Because squash surely won’t be the only thing you grow in your garden.
In fact, you should try planting your squash with other plants that complement its growing conditions and needs.
Companion Planting for Squash
Want your squash to really thrive? Pair them with companion plants.
These are plants that share the same:
- Watering needs
- Nutrient needs
- Light requirements
Many companions also deter pests.
So, when planting squash in raised beds, consider pairing them with the following:
- Oregano
- Dill
- Borage
- Radishes (early harvest varieties)
- Nasturtiums
- Marigolds
There are also some plants you should AVOID planting near your squash in raised beds, such as:
- Potatoes
- Fennel
- Melons
- Cucumbers
- Other cucurbits (like pumpkin)
- Other heavy feeders
Prepping Your Soil
Squash prefers nutrient-rich soil that’s well-draining. Fortunately, raised beds give you more control over the soil quality, and they’re naturally well-draining.
An ideal soil mix would be:
- Balanced topsoil
- 30-40% organic matter (compost)
- Perlite or vermiculite for drainage
Aim for a soil pH of 6.0-7.5.
If your beds are already established, adding aged compost or well-rotted manure should more than suffice.
Squash are heavy feeders, so keep this in mind.
Over the years, I’ve also experimented with other soil amendments and additions, like:
- Bone meal, which adds phosphorus to help with root and fruit development
- Kelp meal or greensand for minerals
A balanced organic fertilizer (10-10-10) works really well, too.
When to Plant Squash In Raised Beds
Timing is everything in gardening, and squash is no exception. Because these plants are very frost-sensitive, you need to time your planting carefully.
Generally, you want to wait until:
- After the last frost date
- The soil is at least 60°F (70°F+ is better) during the day
- Temperatures are consistently above 50°F at night
One advantage of raised beds is that they warm faster, so you can typically start planting 1-2 weeks earlier than with in-ground gardens.
If you’re starting your seeds indoors, then you’ll also want to account for the hardening off of transplants into your plan.
Generally, I’ve found that squash grows best when you sow seeds directly into the soil. It’s a fussy plant when it comes to transplanting. Most of my transplants have died when I tried starting seeds indoors, but I have an almost 100% success rate with seed germination with direct sowing.
Planting Squash In Raised Beds – Step-by-Step Guide
When it comes to the actual physical planting of your squash, you have two options: direct seeding and transplanting.
Like I said earlier, direct seeding is really the best method. But I’ll explain both just to cover all bases.
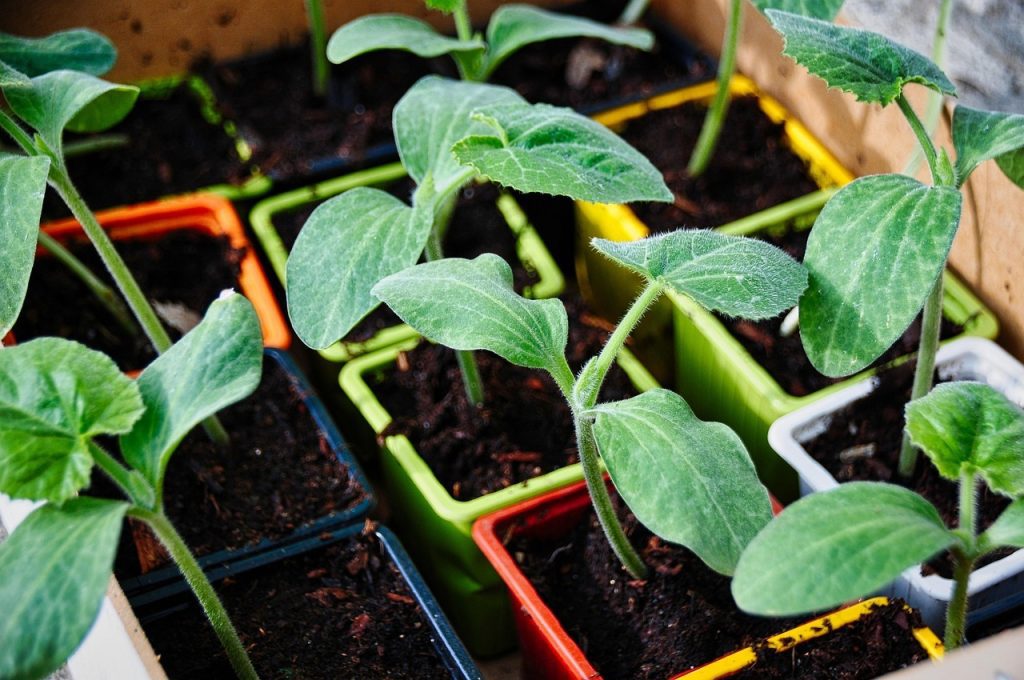
Direct Seeding
Sowing seeds directly is easy. Here’s how to do it:
- Follow your garden plan and figure out where you need to sow your seeds in your raised beds. Generally, bush varieties should be planted 24-36 inches apart and vining 36-48 inches apart.
- Dig a small hole (about 1” deep) at each location.
- Plant 2-3 seeds in each hole.
- Water thoroughly but gently.
Remember – don’t overcrowd your garden.
Keep the soil consistently moist until seeds start germinating (usually within 5-10 days). Once your plants have 2-3 true leaves, start thinning out your plants to keep the strongest one.
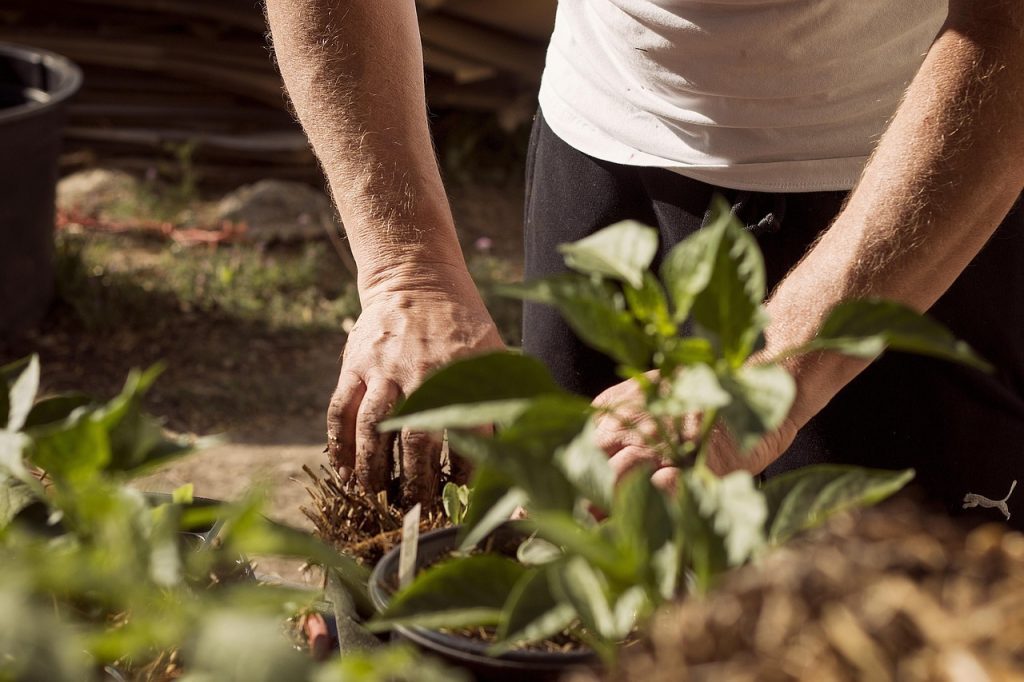
Transplanting
If you’re starting your own seeds, harden off your seedlings for 7-10 days before you transplant. This will get your plant babies used to the outdoors. Until this point, they’ve been babied in their trays with just the right amount of light and moisture.
The outdoors is wild and unpredictable. You need to get your plants used to this environment before you plant them in your soil.
Once your transplants have hardened off:
- Locate where you’re going to plant your squash and mark each spot for easy reference.
- In each spot, dig holes slightly larger than the root ball of the plant and as deep as the container.
- Gently remove the seedling from the pot, taking care not to disturb the roots.
- Water immediately and deeply.
- Provide temporary shade if needed for 2-3 days.
Whether you’re sowing seeds directly or transplanting, make sure to also take the time to mulch your garden – especially around your squash plants. Remember that raised beds dry out more quickly. Mulch will help your soil retain moisture, so you don’t have to water as often.
If you’re serious about gardening, you may even want to consider installing a drip irrigation system to save time and make sure you’re watering consistently.
Watering Squash In Raised Beds
Squash requires consistent moisture: 1-2 inches per week and even more in hot weather.
I highly recommend deep watering to encourage strong roots. Quick waterings more often will encourage shallow roots. It’s best to water deeper and less often.
Here are some of my recommendations for watering (based on my own experience):
- Water at soil level. Don’t wet the leaves. This will only encourage powdery mildew.
- Aim to water in the morning to prevent leaf scorch.
- Check soil moisture levels daily when the summer heat kicks up.
I strongly recommend using soaker hoses or drip irrigation systems to keep your raised beds moist all season long.
Keep an eye on your plants and their condition. They will tell you whether they’re being under- or over-watered.
Signs That Your Squash Isn’t Getting Enough Water
- Wilting leaves (especially midday)
- Slow fruit development
- Blossom end rot (irregular watering)
- Bitter-tasting squash
Feeding Your Squash Plants Throughout the Growing Season
Earlier, we talked about preparing your soil for the initial planting. But what about feeding your plants throughout the season?
One thing you should know is that squash is a heavy feeder. It likes high nitrogen early on and potassium and phosphorus during fruit production.
So, a good rule of thumb is to:
- Add light nitrogen every 2 weeks in the first 3-4 weeks (the early growth stage). Compost tea or fish emulsion works really well for this. I use Alaska’s Fish Emulsion Fertilizer. It’s a concentrate, so it goes a long way and always gives my plants a huge boost.
- Switch to a low-nitrogen, high-phosphorus fertilizer during the flowering and fruiting stage. Feed every 2-3 weeks through harvest. Bone meal is great for this.
If you want to keep things really simple, you could just add some compost monthly to your plants. I typically do this (just because I’m pressed for time), and I’ve never had an issue.
Signs of Nutrient Deficiency
Squash is generally not an overly fussy plant, but it does consume a lot of nutrients. What it lacks, it will show up in the plant’s appearance.
If you notice any of the following, your squash may need more nutrients:
- Pale or yellowing leaves (nitrogen)
- Poor fruit development (phosphorus)
- Brown leaf edges (potassium)
- Stunted growth (multiple deficiencies)
Pest Management
Like any other plant, squash is vulnerable to pests. The right pest management strategy can help save your plants and your sanity.
Here are some of the most common pests when planting squash in raised beds and what to do about them.
Squash Vine Borer
The most serious squash pest. Larvae bore into stems, and you’ll find sawdust-like frass nearby.
Treatment
- Slit the stem of your squash to remove the borer. Cover with soil.
- Spray plants with neem oil
- Redditors recommend using BT spray/injections (it’s a microbial insecticide spray that only affects the grubs)
Prevention
- Use row covers to protect your plants until flowering
- Rotate your crops every year
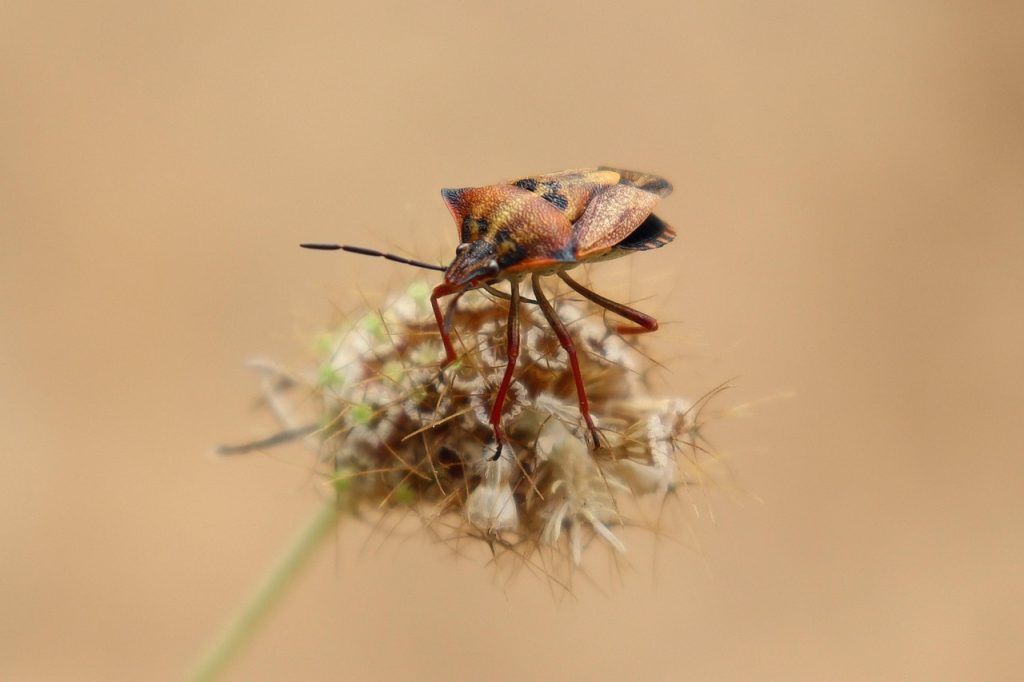
Squash Bugs
These shield-shaped bugs are gray in color and lay their eggs in clusters. They can cause yellowing, wilting and even plant death if there’s an infestation.
I’ve battled these pests in my raised beds, and it was an uphill battle. Neem oil worked well enough, but it was still a constant struggle.
Treatment
- Spray neem oil or insecticidal soap on affected plants
- Handpick adults and nymphs from leaves
Prevention
- Plant trap crops (like Blue Hubbard Squash) to attract these pests away from your main squash crops
- Remove egg masses daily
Cucumber Beetles (Striped and Spotted)
These yellow beetles have stripes or spots, so they’re easy to identify. They also spread bacterial wilt and chew leaves, which wreaks havoc on squash plants.
Treatment
- Handpick these pests for immediate relief
- Introduce beneficial nematodes to keep the population under control
- Use insecticidal soap
Prevention
- Place yellow stick traps near your raised beds and squash plants to trap these pests
- Use row covers to protect your plants
Aphids
These tiny green, white or black insects can really do a number on your garden. You’ll typically find them hiding on the undersides of leaves. They can spread viruses and distort growth.
Treatment
- Spray leaves with water to remove aphids (it’s best to do this in the morning or early evening)
- Spray insecticidal soap or neem oil
Prevention
- Encourage beneficial insects like ladybugs, hoverflies and lacewings
Spider Mites
Spider mites are common in hot, dry conditions (like what you’ll find with raised beds). They leave behind stippled leaves and fine webbing. Over time, these pests suck out the chlorophyll and sap in your plants.
Treatment
- Spray the undersides of your leaves with water (aim to do this in the morning or early evening)
- Use insecticidal soap
Prevention
- Keep your soil moist, especially in peak summer when temperatures are at their highest
Disease Management for Squash Plants
Pests aren’t the only things you’ll contend with when you plant squash in raised beds. You’ll also battle against diseases.
Some of the most common ones include:
Powdery Mildew
This is the most common squash disease. I’ve battled it many times, and it’s one of the most difficult to combat if you don’t catch it early on.
Powdery mildew leaves a white powdery coating on leaves.
It tends to pop up when conditions are extra humid or if there’s poor air circulation.
Treatment
- Spray leaves with neem oil
- Prune infected leaves
- Use a baking soda spray (1 tsp. per gallon of water)
Prevention
- Give your squash plants plenty of space to breathe
- Don’t water overhead
- Plant resistant varieties
Downy Mildew
Downy mildew creates yellow patches on leaves and gray fuzz underneath. It tends to pop up in cool, wet conditions.
Treatment
- Use copper fungicide
- Remove infected plants
Prevention
- Water in the mornings
- Make sure your plants have plenty of room for air circulation
Bacterial Wilt
This disease is spread via cucumber beetles. Once infected, there’s no cure. It leads to rapid wilting and death.
Treatment
- Remove infected plants immediately
Prevention
- Control cucumber beetle infestations aggressively
Blossom End Rot
Irregular watering or calcium deficiency can cause this disease, which creates sunken spots on fruit blossom ends.
Treatment
- Remove affected fruit immediately
- Start a consistent watering routine
- Treat your plants with a calcium spray
- Avoid overfertilizing
Prevention
- Water consistently
- Add calcium to the soil (crushed eggshells are a great option)
Final Thoughts
There are so many advantages to planting squash in raised beds. You have more control over the soil, and the well-draining nature of raised beds helps prevent issues like root rot.
My biggest piece of advice? Start small if you’re new to raised bed gardening (or gardening in general). The first time I planted squash, I went overboard, and my garden suffered as a result. These plants can be quite the sprawlers, so it’s important to give them the space they deserve.
But with the right placement and care, squash will give you a healthy harvest all season long.