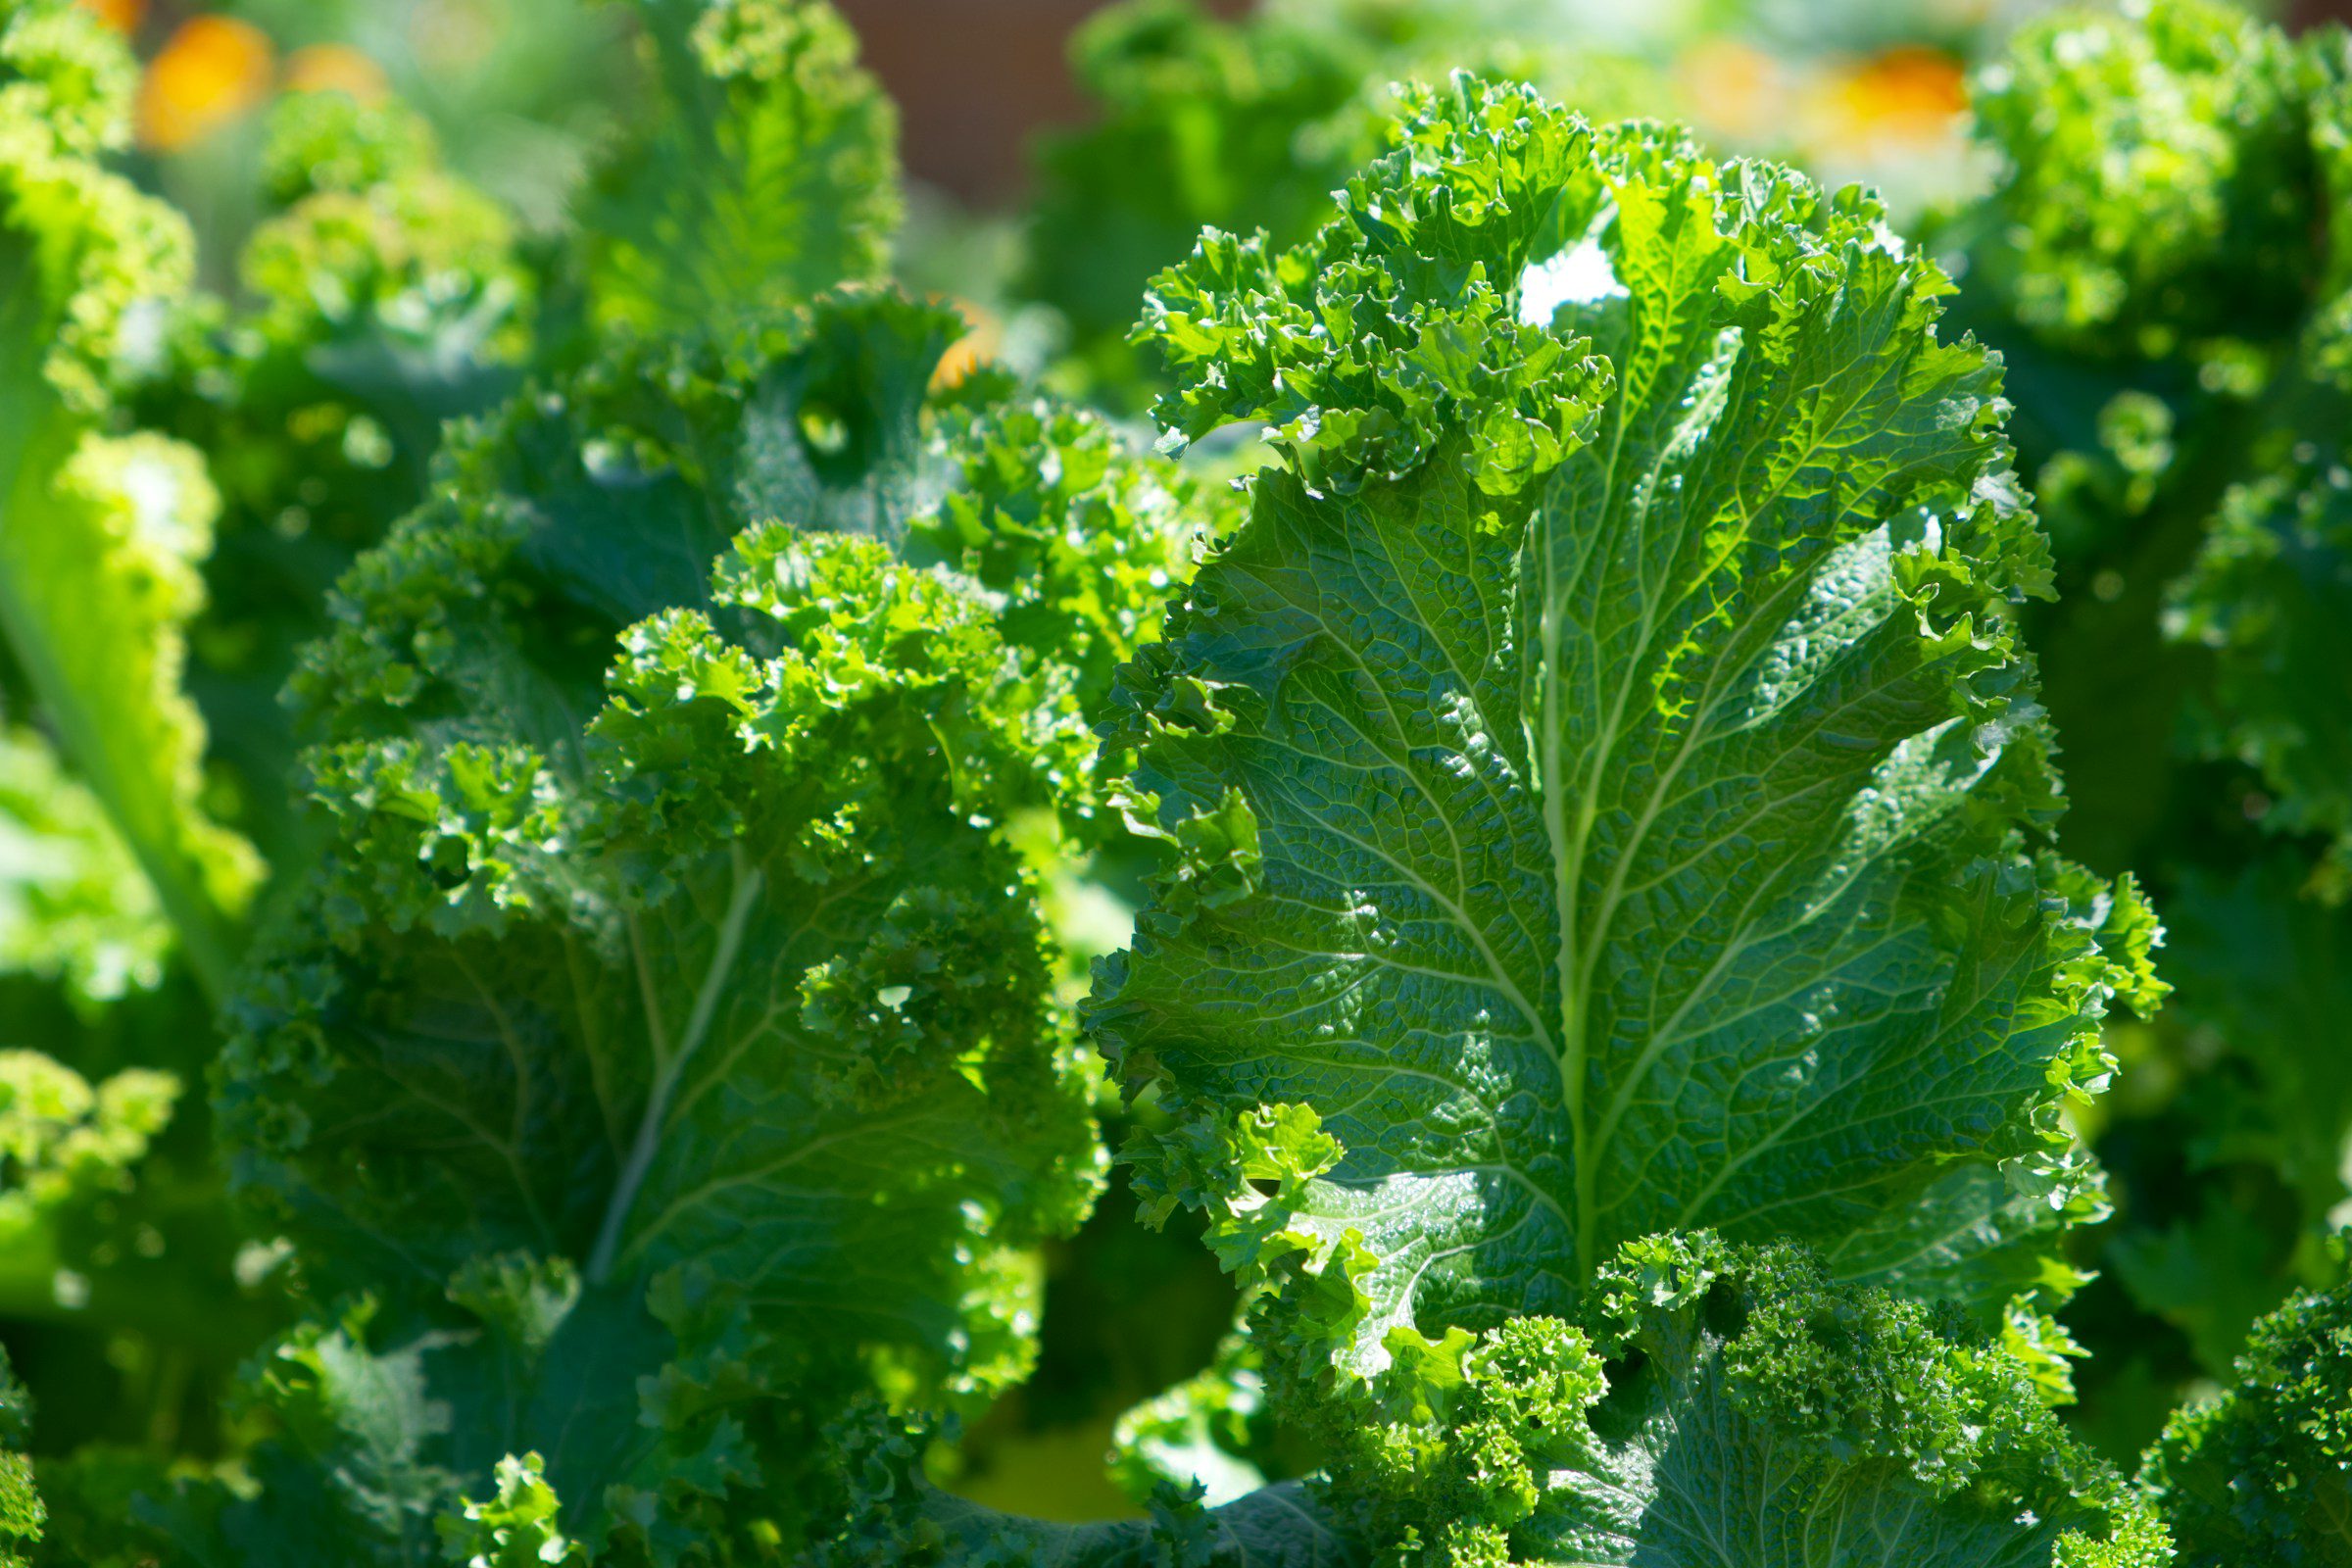
Is kale hard to grow? No! In fact, it may be one of the easiest vegetables on the planet to grow.
When I first started gardening, I planted every vegetable that was labeled beginner-friendly: zucchini, cherry tomatoes, radishes, lettuce and kale. White powdery mildew came for my zucchini. Hornworms came for the tomatoes. The lettuce bolted in a week, and the radishes were about the size of a quarter.
But the kale? It grew like a weed. Even after a hailstorm, some leaves were damaged, but the plant stood strong. And it kept giving me fresh leaves well into December.
That season is what convinced me that kale truly is a beginner-friendly veggie and lives up to its reputation for being SO easy to grow.
But why is kale so easy? I’m going to share the science behind its hardiness and how to grow this veggie.
Here’s What Makes Kale So Easy to Grow
It helps to know kale isn’t easy by accident. It has a few traits baked into its biology that explain almost everything about why it shrugs off conditions that would finish off other crops.
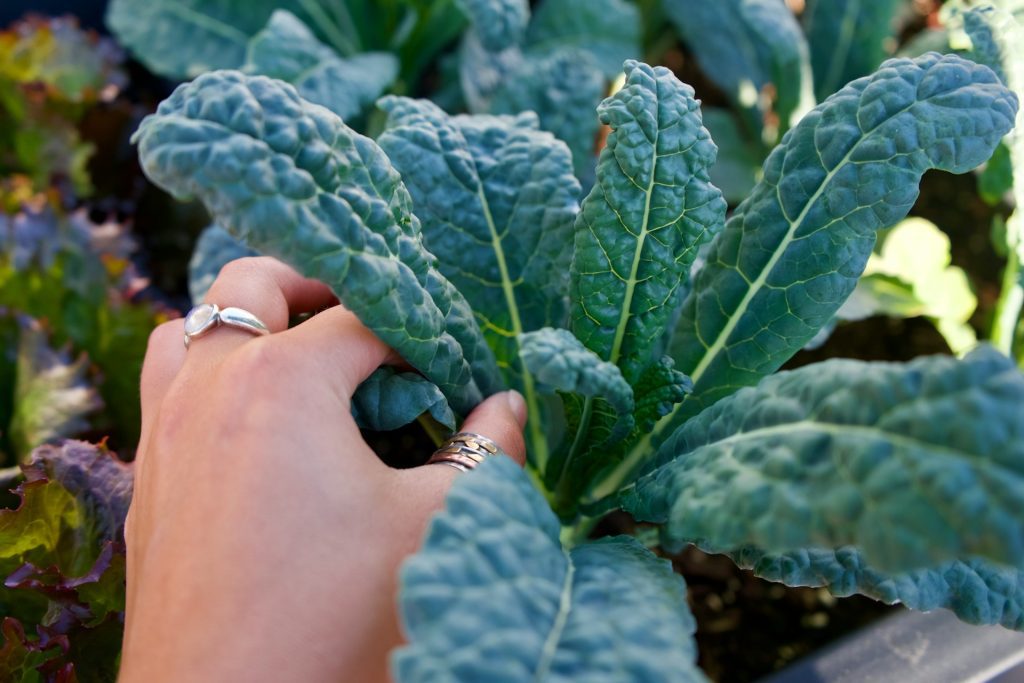
A waxy cuticle that holds water in. Kale leaves carry a thick, waxy outer layer called a cuticle. This layer is often visible as the pale, dusty-blue bloom on varieties like ‘Lacinato.’
That coating slows water loss through the leaf surface, which is a big part of why kale tolerates missed waterings so much better than thin-leafed crops like lettuce or spinach.
Sugar as antifreeze. The sweetening kale undergoes after frost is a survival mechanism. When temperatures drop, the plant converts starches stored in its cells into simple sugars like glucose and fructose. Those dissolved sugars lower the freezing point of the fluid inside plant cells, similar to how salt lowers the freezing point of water on an icy road.
This process is called cold acclimation and it’s why kale can handle temperatures into the low 20s that would turn a tomato leaf to mush. The flavor you notice is a side effect of the plant defending its own cells from ice damage.
A biennial life cycle built for cool seasons. Kale is a biennial, which means it’s genetically wired to grow leaves and store energy in its first year, and then flower and set seed in its second year after it experiences a stretch of cold.
Because flowering (and the bitter, tough leaves that come with it) is tied to that cold-then-warm sequence, kale doesn’t rush to bolt the way many greens do when summer heat arrives.
Glucosinolates, kale’s chemical defense system. Kale belongs to the brassica family alongside broccoli and cabbage. Like its relatives, it produces sulfur-containing compounds called glucosinolates. These compounds deter lots of garden pests and even play a role in kale’s disease resistance.
An efficient, adaptable root system. Kale develops a deep taproot and a network of fine lateral roots that spread wide through the topsoil. That combination lets it pull water and nutrients from a larger volume of soil than shallow-rooted crops manage, which explains a lot of its tolerance for average or even mediocre soil. The plant simply has more real estate to draw from.
Taken together, these traits are why kale’s reputation isn’t hype. The plant is built at the cellular level to handle conditions that send other vegetables into their graves.
Minimal requirements. Kale asks for very little day to day. Give it six hours of sun (although it tolerates partial shade, too). Keep the soil reasonably moist (even then, it isn’t fussy if you miss a day here or there). Average garden soil works (no special amendments required). It’s a light feeder rather than a heavy one, and each plant only needs 12 to 18 inches of space to spread out.
A long harvest window. You don’t need to guess the perfect moment with kale the way you do with a melon or a tomato. Pick the outer leaves and the plant keeps right on growing new ones from the center. Nothing needs to ripen all at once. One planting can feed you for two to six months. You only pick what you plan to eat, so there’s little waste.
How to Grow Kale Step by Step
Step 1: Choose When to Plant
Kale has two main seasons.
- Spring planting happens four to six weeks before your last frost, usually March through May, depending on where you live.
- Fall planting happens six to eight weeks before the first frost, usually July through September.
Many gardeners find fall planting even easier since there’s less worry about pests and the flavor turns sweeter.
The timing stays flexible on purpose. Kale tolerates cold well enough that you can plant quite early in spring, and late summer plantings carry the harvest deep into winter. You can even succession plant every two to three weeks for a continuous harvest.
Step 2: Prepare the Soil
Kale isn’t picky. Regular garden soil works well as long as it’s loose enough to work and drains reasonably well. A pH between 6.0 and 7.5 covers a wide range, so don’t stress over exact numbers.
Soil preparation is easy, too. Add two to three inches of compost if you have it, but it’s optional rather than required. Dig or till the soil six to eight inches deep, clear out large rocks and debris, and that’s really the whole job.
If your soil is poor, kale still tolerates it better than most crops thanks to that wide root network, though a raised bed can help if drainage is a real problem.
Step 3: Plant Seeds or Transplants
Direct seeding is the simplest route. Sow seeds a half inch deep, space them three to four inches apart at first and water gently. Seeds sprout in 5 to 10 days. Then, thin them to 12 to 18 inches apart once the seedlings reach 3 to 4 inches tall.
Transplants get you to harvest a bit sooner. Start seeds indoors four to six weeks before your planting date, or just buy young plants from a nursery. Space them 12 to 18 inches apart and water well right after you set them in. Either method works well, so pick whichever fits your schedule.
Step 4: Water Regularly
Kale wants about 1 to 1.5 inches of water a week. It’s best delivered in a couple of deep soaks rather than daily light waterings. Give it a bit more water in hot stretches and less when the weather cools.
If you want, you can add a layer of mulch to help hold moisture and cut down on how often you need to reach for the hose.
Watch for slightly wilted leaves or dry soil a couple inches down as signs that it’s time to water. Kale bounces back easily from a short dry spell, thanks in part to that waxy cuticle, so don’t panic over one missed watering.
Step 5: Fertilize Lightly
This step is optional more than essential. Compost worked in at planting time is often all kale needs. If you want to give it a boost, a balanced fertilizer every four to six weeks does the trick, or a gentle option like fish emulsion or compost tea. Nitrogen helps push along that leafy green growth, but kale is hard to over-fertilize, so there’s little risk of harm.
Step 6: Harvest Regularly
Most varieties are ready to pick 50 to 70 days after planting, once the leaves reach palm size or larger. Baby kale comes even sooner, around 25 to 30 days, with smaller and more tender leaves.
Pick the outer, older leaves first and leave the center to keep producing.
- Cut or twist the leaves off at the stem.
- Take two to four leaves per plant per picking.
- Repeat every few days or so.
There’s no wrong moment to harvest because the leaves hold up well on the plant and the whole process keeps going for months.
Some Kale Varieties Are Easier to Grow Than Others
For beginners, a few varieties stand out, including:
- ‘Lacinato,’ also called dinosaur kale or Tuscan kale, has a sweet flavor, blue-green leaves and a slow bolt with excellent cold hardiness.
- ‘Winterbor’ lives up to its name with strong cold tolerance, a vigorous habit and curly leaves.
- ‘Red Russian’ grows fast with pretty purple veins, a tender bite and real cold resistance.
- ‘Vates,’ also known as blue curled, stays compact for small spaces and germinates reliably.
Skip ornamental kale if you plan to eat it, since it’s grown for looks rather than flavor.
Tips for Success
- Plant in fall when you can. This is when pests and bolting become less of a problem and frost sweetens the flavor.
- Use floating row covers to block cabbage moths almost completely while still letting light, water and air through.
- If it’s your first try, start with nursery transplants instead of seeds. You’ll see results in four to six weeks and build confidence fast.
- Mulch around your plants with two to three inches of straw, leaves or grass clippings to hold moisture, block weeds and regulate the soil temperature.
- Succession plant every two to three weeks for a rolling harvest and a bit of insurance if one batch struggles.
- Stick to slow-bolt varieties like ‘Winterbor’ and ‘Lacinato’ to stretch your spring harvest window.
Above everything, don’t overthink it. Kale forgives far more than it punishes. Plant it, water it, harvest it and that’s most of the job.
The Bottom Line: Is Kale Hard to Grow?
No, kale is genuinely one of the easiest vegetables you can grow. It asks for little: sun, water and a bit of space. It stands up to frost and snow through real biological defenses, and it faces few serious pests or diseases thanks to its own chemical defenses. The harvest season stretches for months, you pick only what you need, and the plant tolerates soil that would frustrate fussier crops.
The one real catch is that kale prefers cool weather over a blazing summer, but the fix is simple: plant it in spring or fall and let it do its thing.
If you’re picking a first vegetable to grow, kale is a strong choice. It builds confidence through a high success rate, rewards you with a steady harvest and teaches the basics of gardening without much fuss. If you can already grow lettuce or spinach, you can grow kale too, and there’s a good chance you’ll find it even simpler than either one.