Learn how to grow asparagus in a raised bed to enjoy a tasty harvest year after year.
Years ago, I got this bug in my mind to plant asparagus. I loved the idea of being able to harvest fresh asparagus in the spring, but I wasn’t too keen on the idea of having to dedicate the space entirely and permanently to this crop.
In case you didn’t know, growing asparagus isn’t like tomatoes or lettuce that come and go every year. They’re perennials that, if you set them up right, will produce tender spears every spring for 15-20 years or more.
Now that I’m several harvests in, I’m glad I took the leap and created a space for this delicious crop. And I did it in my favorite raised bed. I’m convinced that raised beds are even better than in-ground planting for asparagus. You have total control over the soil quality and drainage, both of which matter tremendously.
If you’re not sure how to get started with planting asparagus, my little guide will point you in the right direction.
How to Grow Asparagus in a Raised Bed
How to Plant Asparagus in a Raised Bed
Size
Asparagus crowns have wide, spreading root systems, so you’ll want a bed with real depth. Ideally, you want a bed that’s 18 to 24 inches deep, not the shallow 6- to 8-inch beds that work fine for lettuce or herbs.
Width and length are more flexible and can be adjusted to however many plants you’re growing, but give each crown 12 to 18 inches of space. Resist the urge to crowd them in.
Location
Pick a spot with full sun and, just as importantly, a spot you’re genuinely willing to give up for good. This is not a bed you’ll be rotating crops through next season. I learned this the hard way in my first garden layout, when I put my asparagus in what I thought was a “temporary” spot near the fence, only to realize a year later that the fence needed replacing and I had a maturing asparagus bed sitting directly in the contractor’s path.
Learn from my mistake and choose your spot as if you’re building something permanent, because you are.
Materials
As for materials, cedar is the classic choice because it resists rot naturally and can last well over a decade. But composite or metal beds work, too, if you want something that will outlast the asparagus itself.
Whatever you choose, build it to last, since you really don’t want to be rebuilding a bed with mature asparagus still living in it.
Preparing the Soil
Asparagus prefers well-draining soil that still holds onto nutrients. It’s important to get this right before you start planting. A good starting mix is roughly 40% topsoil, 40% compost, and 20% coarse material like perlite or coarse sand, layered to a full 18 to 24 inches.
Some gardeners add a couple inches of gravel at the very bottom of the bed for extra drainage insurance, which is a nice touch if your native soil is on the soggy side.
Before planting, work in bone meal for phosphorus, a layer of aged manure for slow-release nutrients and rock phosphate or greensand if you want to set your bed up with minerals that will carry it through for years.
Test your soil pH and aim for a range of 6.0 to 7.0. If it’s too acidic, garden lime will bring it up. If it’s too alkaline, elemental sulfur or a mulch of pine needles can bring it back down.
Choosing Your Asparagus Variety
You can start asparagus from seed, but most home gardeners, myself included, plant crowns instead. Why? Because they save you a full year of waiting and are far more forgiving for beginners.
When picking varieties, look for disease-resistant options like Jersey Knight or the striking purple-tinged Purple Passion, both of which tend to hold up well against common asparagus diseases. Male cultivars are generally more productive than female ones since they don’t spend energy producing seeds. Most modern hybrid varieties are bred to be all-male for exactly that reason.
For a family of four that enjoys asparagus regularly, plan on 10 to 15 crowns, spaced properly, which will fill out a reasonably sized raised bed nicely once mature.
Planting Asparagus Properly
Early spring, as soon as the soil can be worked, is the time to plant. Dig a trench about 6 to 8 inches deep down the center of your bed, and set the crowns in with their roots spread out like a little octopus, buds facing up.
Cover with just 2 to 3 inches of soil at first, then gradually fill in the trench over the following weeks as the shoots grow, rather than burying the crowns completely right away.
Water thoroughly right after planting and keep the soil consistently moist through that first season. This part requires a level of patience that you need to be prepared for.
First and Second Year Care
This is the hardest part of growing asparagus for most people: you have to let it grow completely undisturbed for the first two to three years without harvesting a single spear. I know how tempting it is to snap off just one or two the first spring, but resist it.
Every spear you let grow into a tall, ferny plant is feeding energy back down into the crown, building up the reserves that will eventually support years of harvests.
During these early years:
- Keep weeds down diligently, since young asparagus doesn’t compete well against aggressive weeds yet. A layer of straw or leaf mulch a few inches thick helps both for weed suppression and for keeping soil moisture even.
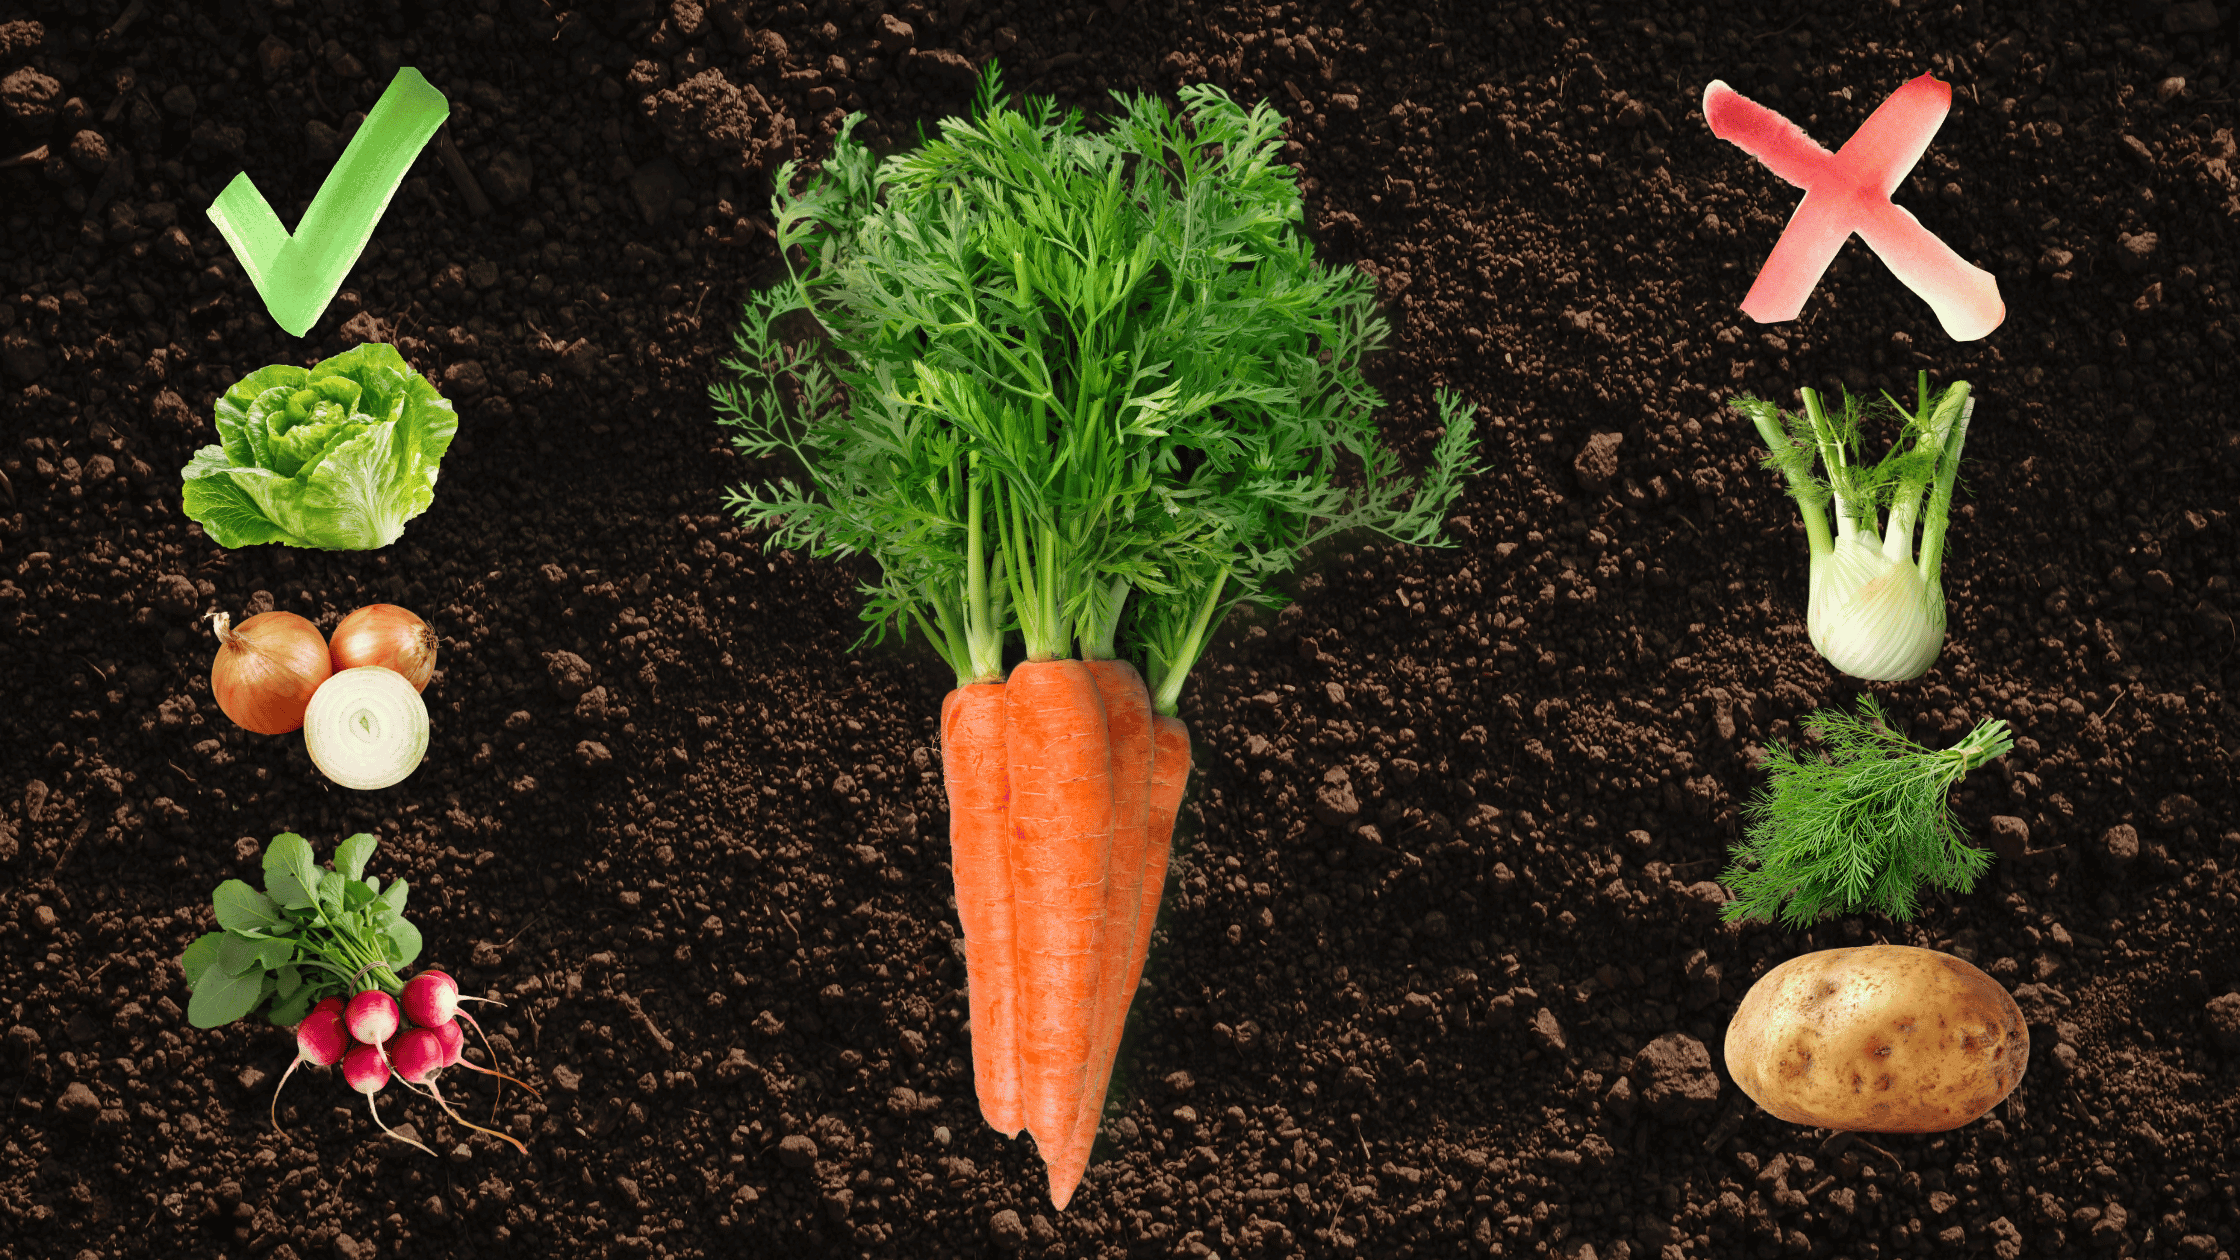
- You can tuck in some shallow-rooted companions like lettuce, spinach or radishes between the young crowns during this period, as they won’t compete for the deep root space asparagus needs.
Ongoing Maintenance
Once your bed is established, the yearly rhythm becomes pretty predictable.
Each spring:
- Add an inch or two of fresh compost
- Apply a balanced organic fertilizer once you see some new growth
After harvest season is over, leave the remaining spears to grow into tall ferny stalks (don’t cut them down). Those ferns are photosynthesizing all summer to energize the crowns for next year.
In late fall, once the ferns have completely yellowed and died back:
- Cut them down to an inch or two above the soil.
- Remove the debris from the garden entirely rather than composting it in place. Old asparagus foliage can carry disease spores that you don’t want lingering near next year’s spears.
Harvesting
Most gardeners can start a light harvest in year three. Look for spears that are at least pencil-thick, and either snap them off cleanly at ground level or cut them just below the soil surface with a sharp knife.
Take care not to nick nearby emerging spears. In the early harvest years, limit your harvests to just a couple of weeks. As your bed matures in the years to come, you can extend the harvest to six or even eight weeks each spring.
Here’s a good rule of thumb for knowing when to stop harvesting for the season: once the spears start coming in noticeably thinner than a pencil, it’s time to let the plant put its energy into producing ferns instead.
Common Problems in Raised Beds
Raised beds are a great alternative to in-ground planting, but they’re not perfect. Just like any other crop, you come across a few issues when growing asparagus.
- Raised beds drain faster than in-ground gardens, which is usually a benefit. But it can mean that you need to water more frequently and attentively, especially during dry spells in the first couple of years.
- Watch for asparagus beetles. These small metallic beetles chew on spears and ferns. Hand-picking them off in the early morning when they’re less active works surprisingly well for small infestations.
- Fungal issues like rust and Fusarium crown rot are also more likely to take hold if plants are crowded or air circulation is poor. Don’t skimp on that 12- to 18-inch spacing no matter how tempting it is to fit in a few extra crowns.
Final Thoughts
Growing asparagus in a raised bed is a long game. The first couple of years require a kind of patience that not every garden project demands. But once that bed matures, you’re rewarded every single spring with weeks of fresh spears from a plant that asks for very little beyond a yearly addition of compost and a fall cleanup.
And now that you know how to grow asparagus in a raised bed, you can get started on the right foot.
My own bed is going on its sixth productive season now, and every April when those first spears push through the mulch, it still feels like a huge reward for the patience I almost didn’t have back when we first built that bed.